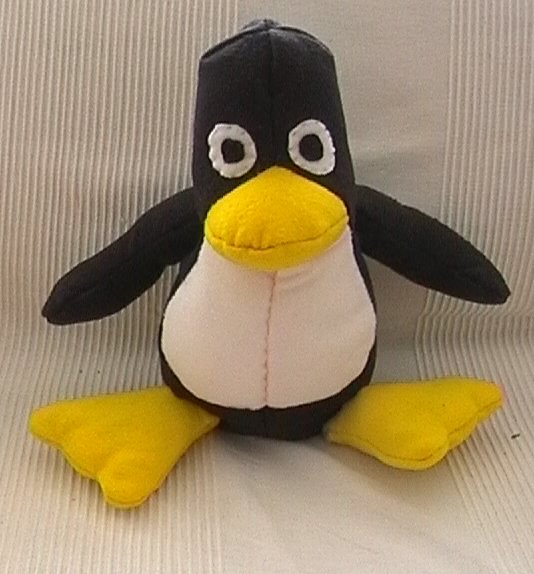
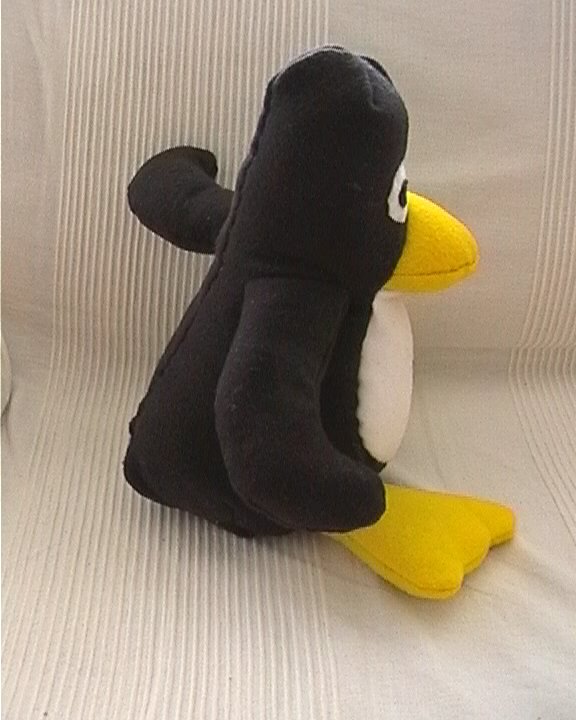
Creating stuffed plush Tux
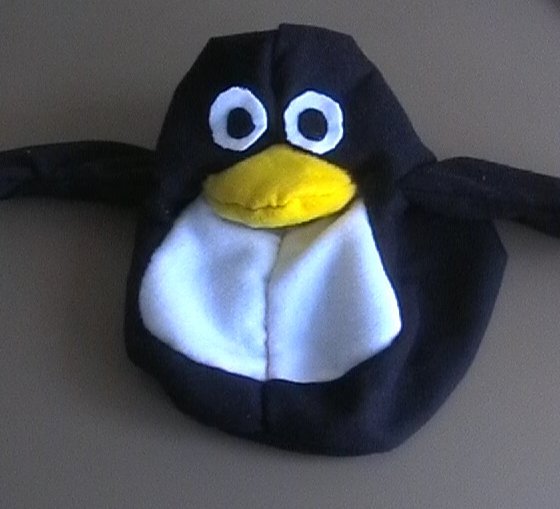
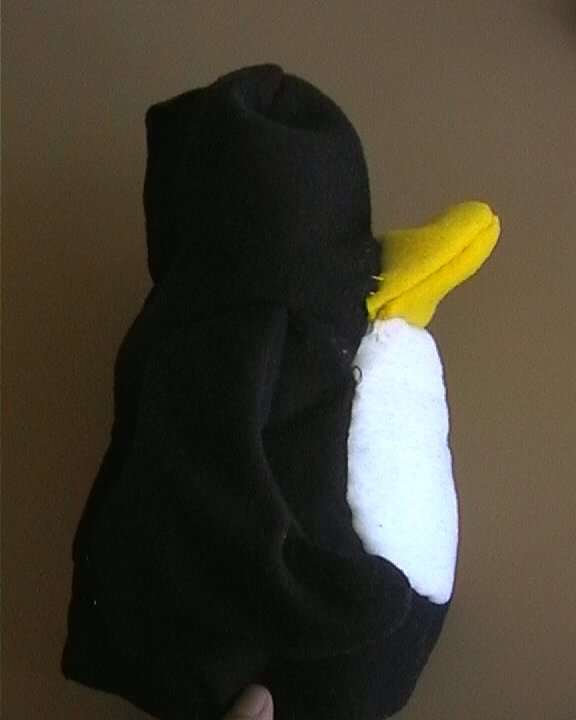
I've created my own stuffed Tux using free GPL sewing patterns. I've documented the process and created lots of images maybe it will be useful for others.
The fact that I'm creating a Tux clearly indicates that I know basically nothing about sewing and stuffed toy creation.
Sewing patterns
I've downloaded GPL sewing patterns (version 0.6) from this link. I also save the file here locally so it will be possible to download it even if the original page becomes unaccessible.
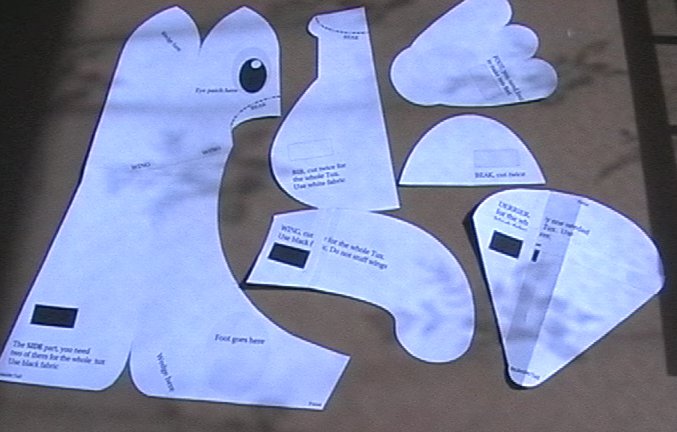
It is of course possible to create smaller or larger penguins, I was using the original size. First we have to print out the pages. The pdf contains 9 A4 pages but only 6 of them are necessary. Some of the templates are printed on multiple pages, so we also need to glue them together. After that we can cut the templates. At the end we have 6 templates.
Requirements
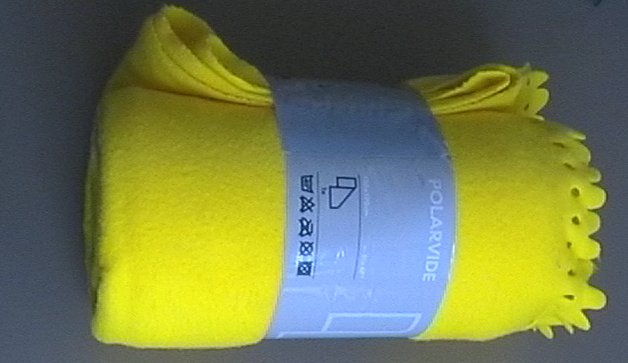
The most important is the plushy fabric. We need three colors: black, white, and yellow. I bought IKEA Polarvide blankets. Using blankets may sound a bit strange, but it is quite cheap and very soft. The yellow color is not optimal it should be more orange in it.


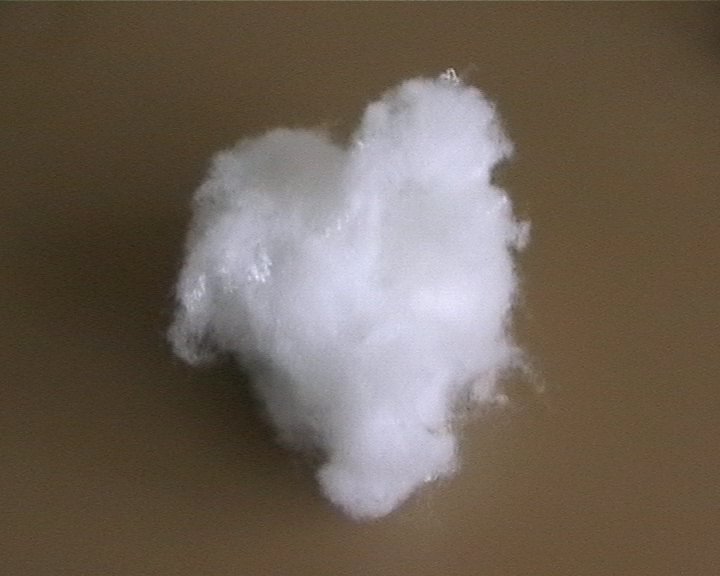
We also need stuffing material. I bought it in a local shop. It looks like cotton balls but it's much better.
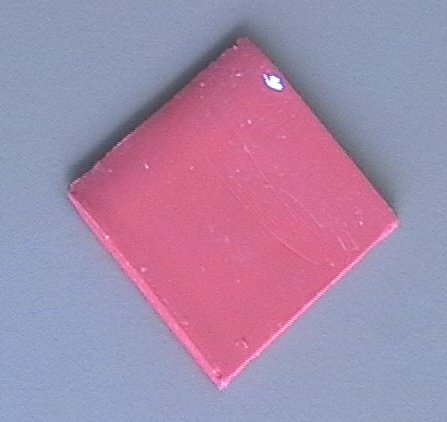
We also need scissors, needle, pin, threads (different colors). I even bought a tailoring chalk:
Cutting
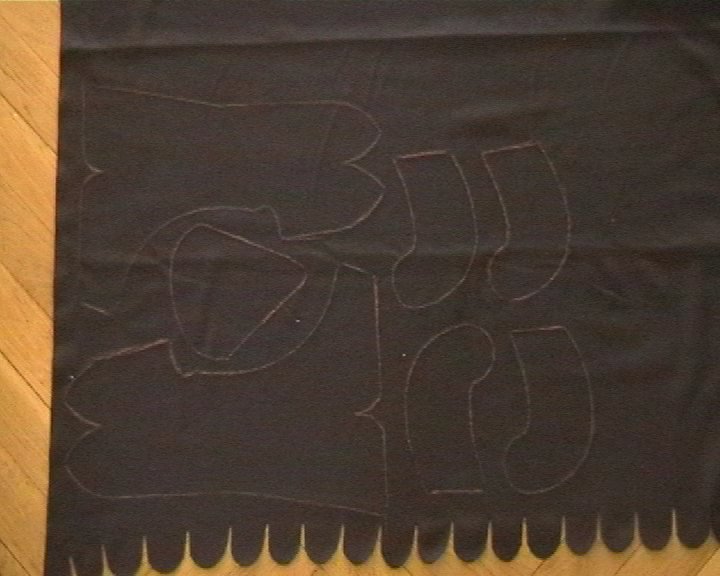
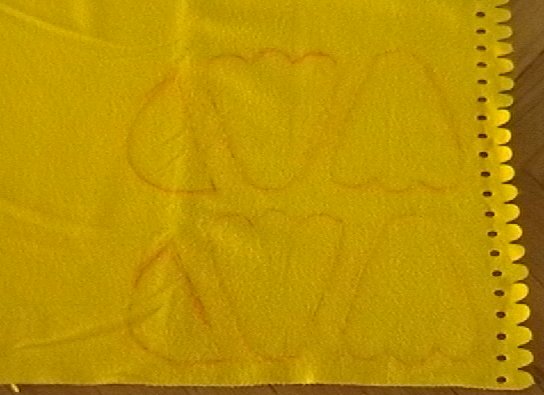
First we need to draw the templates. Some of them should be drawn twice or four times. We also need some extra space among them. Both sides of the fabric looks exactly the same (for me) so I didn't really care about mirroring the images.
Using the tailoring chalk is a bit inconvenient, it does not feel too accurate for me.
Although it is not mentioned on the Tux page it is quite clear that we need extra space when we cut out the templates. It is best to add an additional 0.5 - 1.0 cm. It is also useful if the width of the extra fabric is the same everywhere.


Sewing
I started with the wings. First I sewed them together following the chalk line. I've tried to be consistent and create nice stitches. One side of the wing should not be stitched. I've turned the wing inside out and connected it to the side (the patterns shows the correct placement). A hole should be cut on the side before connecting the wing.
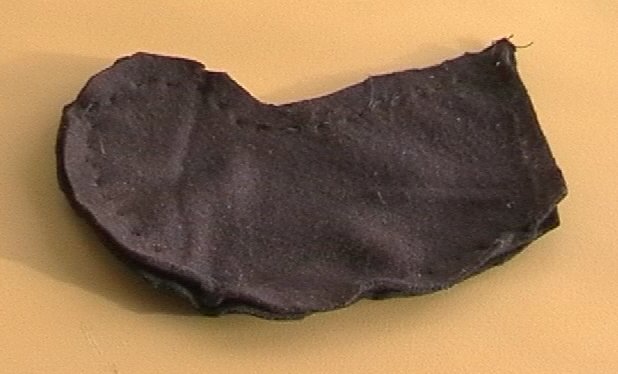

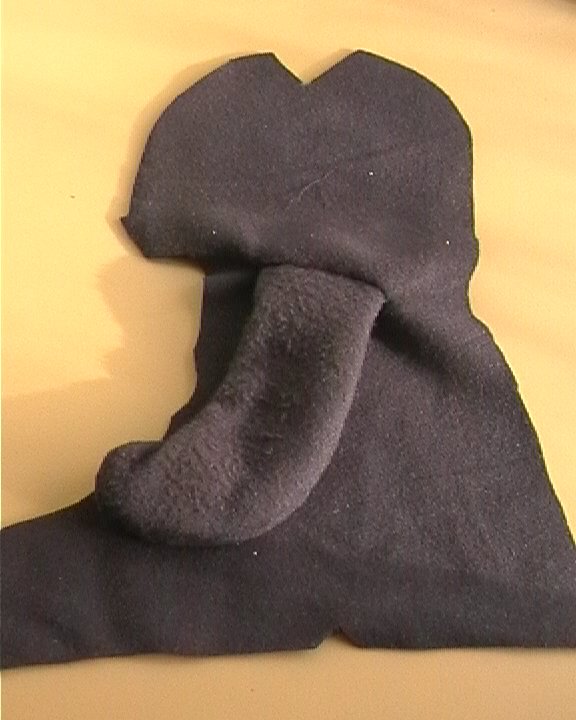
Feet should be connected using a different method. After sewing we should stuff the feet and connect them later to the body. It was a bit difficult to finish the feet because we need a hole to be able to stuff it which means that it's complicated to sew the last stitches. This middle toe looks a bit small for me it should be bigger.

All the other parts should be assembled using the same method, the backside should be the last.
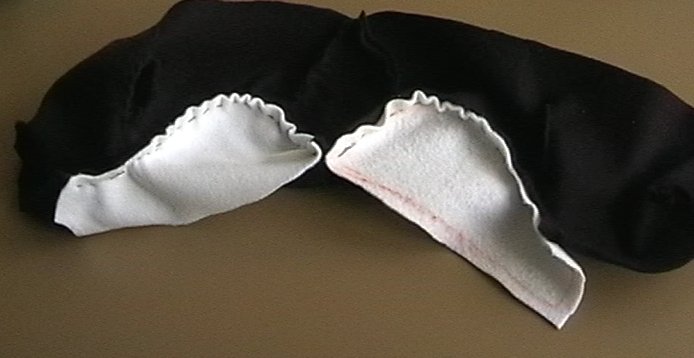
It was really difficult to assemble the side and the derrier. Some part of the derrier should be sewed to the derrier itself (look for the 'wedge here' text on the template). We cannot wedge too short or too long parts of the fabric.
The most difficult (for me) was the beak. I've only realized after the assembly that black fabric should be placed between the upper and lower part of the beak. That part is missing from my Tux.
Finding the correct placement of the beak was even more difficult. It should be stitched to the dashed-dotted (beak) line of the side. I've used pins to find the beast place for the beak. Unfortunately stuffing the penguin changed the alignment of the beak so my penguin was looking very strange. I've stitched the beak to the bib to fix this problem.
