Aurora Borealis 2014
If we'd like to take northern light (aurora borealis) photos, first we have to choose place and time.
Place
It might sound logical to choose the northernmost place possible, but (fortunately) the aurora-zone is not that north. Iceland and Northern-Scandinavia is the best to view the aurora borealis in Europe. We won't find too many cities with airport and hotels here, so I chose Tromsø, Norway.
Time
- The 11-year solar cycle is the best long-time prediction for aurora borealis. UAF has a very good short-term forecast page.
- It is also important to check the time of the sunrise and sunset. Sunlight prevents aurora viewing, so July is not the best choice. On the other hand the total darkness of December can be good for aurora viewing, but quite bad for most of the other activities.
- If the aurora is weak then full moon might ruin our chance of taking good pictures.
- Most of the tours in this region requires snow (e.g. dog sledding) so snow level should also be checked. The snow level info of the previous years can be found here.
Of course it's impossible to fulfill all the conditions at the same time. It's best to buy airplane tickets, book hotels, book guides in advance, which makes it even more difficult to choose the time. It is best to book other activities (dog sledding...) so we'll have a good time even if we are unlucky and cannot see the Aurora.
Observation
- You don't have to join an organized group, but these groups have quite a fee advantages. You can find lots of tours at Triadvisor. The smaller the group the more you have to pay.
- Most of the photos were taken close to Grunnfjord.
- All the travel agencies suggest to dress properly and use warm clothes because Northern-Norway can be very cold at night.
- I had mittens but it was impossible to control the camera, so I took it off quite a few times. Probably the combination of glove liners and mittens is the best solution as described here.
- A torch (head-lamp) is also very useful.
Photography - equipment
- We need equipment for low-light photography.
- Tripod is a must. I was using a very small Manfrotto 209 tripod and 482 micro ball-head. It was not too convenient to use such a small tripod.
- Camera: Pentax K-x DSLR. A full-frame DSLR would have been better in this low-light condition.
- Wide-angle lens: Sigma 10-20mm f/4-5.6-et. Usually I was using 10mm focal length.
- Batteries don't like cold, so I had spare batteries in my warm inside pocket (no need for them luckily).
Photography - settings
- No need for autofocus, I was using manual focus (infinity).
- I was shooting RAW.
- I set a 2 second delay to reduce camera shake.
- Most of the photos were taken using 10mm focal length.
- Wide aperture (small aperture number) helps to catch more light. Most of the time I was using F4.
- According to rule 500 (sometimes called rule 600) we should not see star trails on exposures shorter than 30 seconds (500/10/1.5 = 33.3). My photos confirm that. Usually my exposure time was 10-15 seconds. Shorter times resulted very dark images, longer times blurred the aurora.
- I was using high ISO value (ISO 2500 - ISO 4000).
- I had plenty of time so I was experimenting using different settings. The values described above gave me the best result.
Photography - composition
-
Sometimes the aurora was exactly above us. I took a few pictures which show only the sky and the aurora and nothing else. These pictures are quite boring:
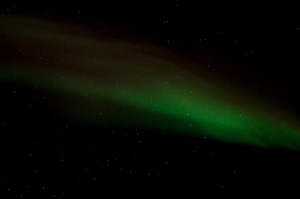
11mm f/5.6 15s ISO4000 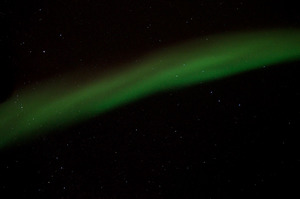
10mm f/4 15s ISO3200 - Our observation point was close to the sea, so the
most common background of my pictures shows the sea, a few
mountains, and the lights of a town:
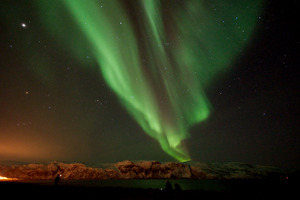
10mm f/4 10s ISO6400 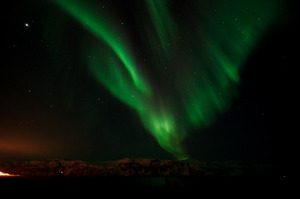
10mm f/4 10s ISO2500 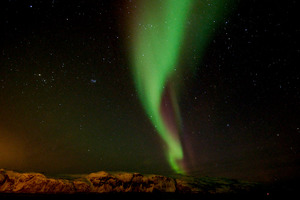
10mm f/5.6 30s ISO4000 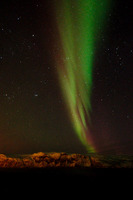
11mm f/5.6 15s ISO6400 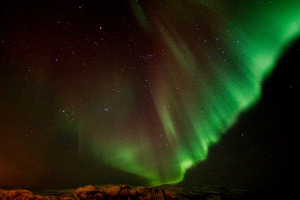
10mm f/4 13s ISO6400 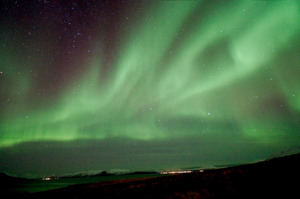
10mm f/4 20s ISO6400 - A more interesting foreground may have been better. On an organized tour it is very difficult to choose a better place.
- Fellow-travelers will ruin quite a few pictures ( Walking with
their head-lamp turned on during the 20s exposure. I have plenty
images like that), but they also make a few picture interesting. To
tell the truth I was not deliberately compose the images to show the
other travelers:
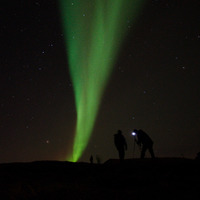
10mm f/4 15s ISO3200 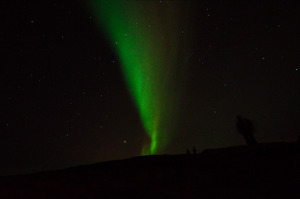
11mm f/5.6 10s ISO4000 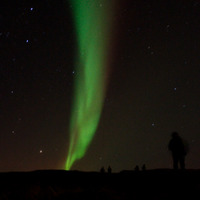
10mm f/4 15s ISO3200 - One of the most typical picture shows someone smiling in front of the aurora. I had no such picture:
- Sigma 10-20 is not a portrait lens, it's too wide angle.
- Fill-in flash (using an external flash) would also be very useful.
- The reflective vest is the worst possible clothing for such a picture.
- My tripod was very small for a portrait.
Photography - postprocessing
Usually I don't like digital manipulation, I prefer small modifications. My aim is to mimic perception by my eyes. This approach is quite bad for aurora borealis, most of my unmodified aurora pictures were quite different and much nicer than the naked eye perception.
Once we have seen a very dim light. It might have been a very weak aurora or city lights from far away. Our tour guide suggested to take a few photos and check them. If it's green it's aurora:
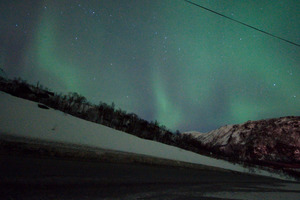
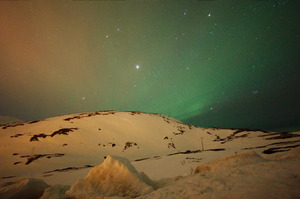
Here you can find a more detailed explanation.
My usual post-processing steps for the images:
- I set color temperature to make the stars white and the sky black. I was setting the values for each photo individually. Most typical setting: temperature 4500K, tint 40.
- Contrast increasing.
- Little bit of noise reduction.