Sheaffer Snorkel repair
I describe my Sheaffer Snorkel Admiral (1950s) repair here. I bought the pen from Andy's Pens where you can buy lots of vintage pens. Click to images to enlarge them.
This pen has a very interesting filling mechanism, you can find more details here or at Richard Binder's.
The rubber ink sac of this pen should be replaced after 20-30 years.
Replacement parts and tools:
- Ink sac
Straight size 14 (outer diameter in 1/64 inch) is required for this pen. I bought rubber sac. (Some of the web pages suggest size 14.5 silicone sac).
- O-ring
I don't know the exact size of the O-ring, usually they sell it as Snorkel O-ring. You need the buy the "small" for the Snorkel (and the "big" for PFM).
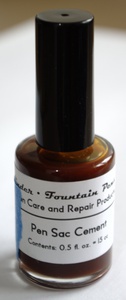
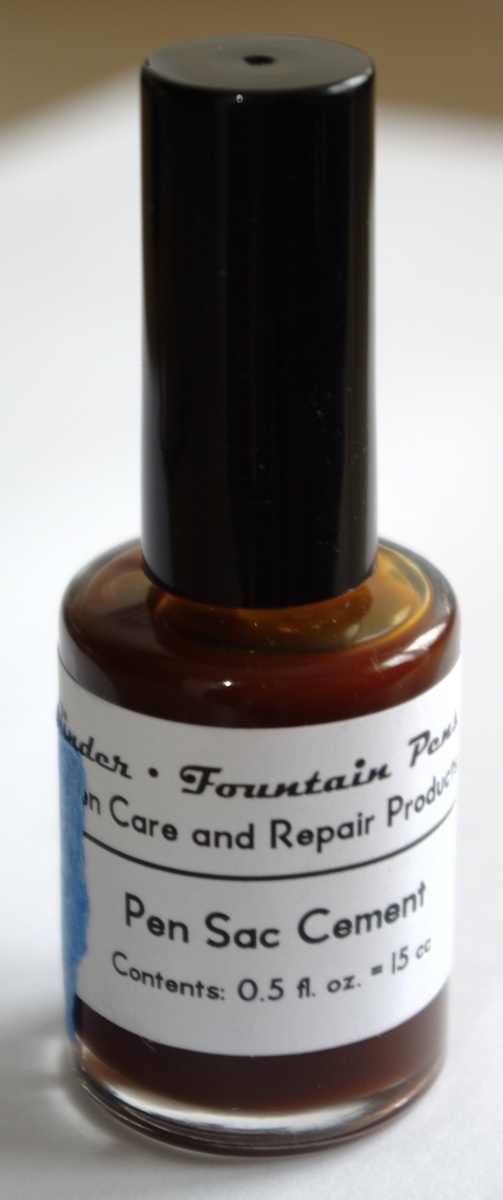
- sac cement
There are quite a few glue types, some of the web pages suggest using nail polish. I bought the sac cement and the ink sac from the same vendor just to be on the safe side.
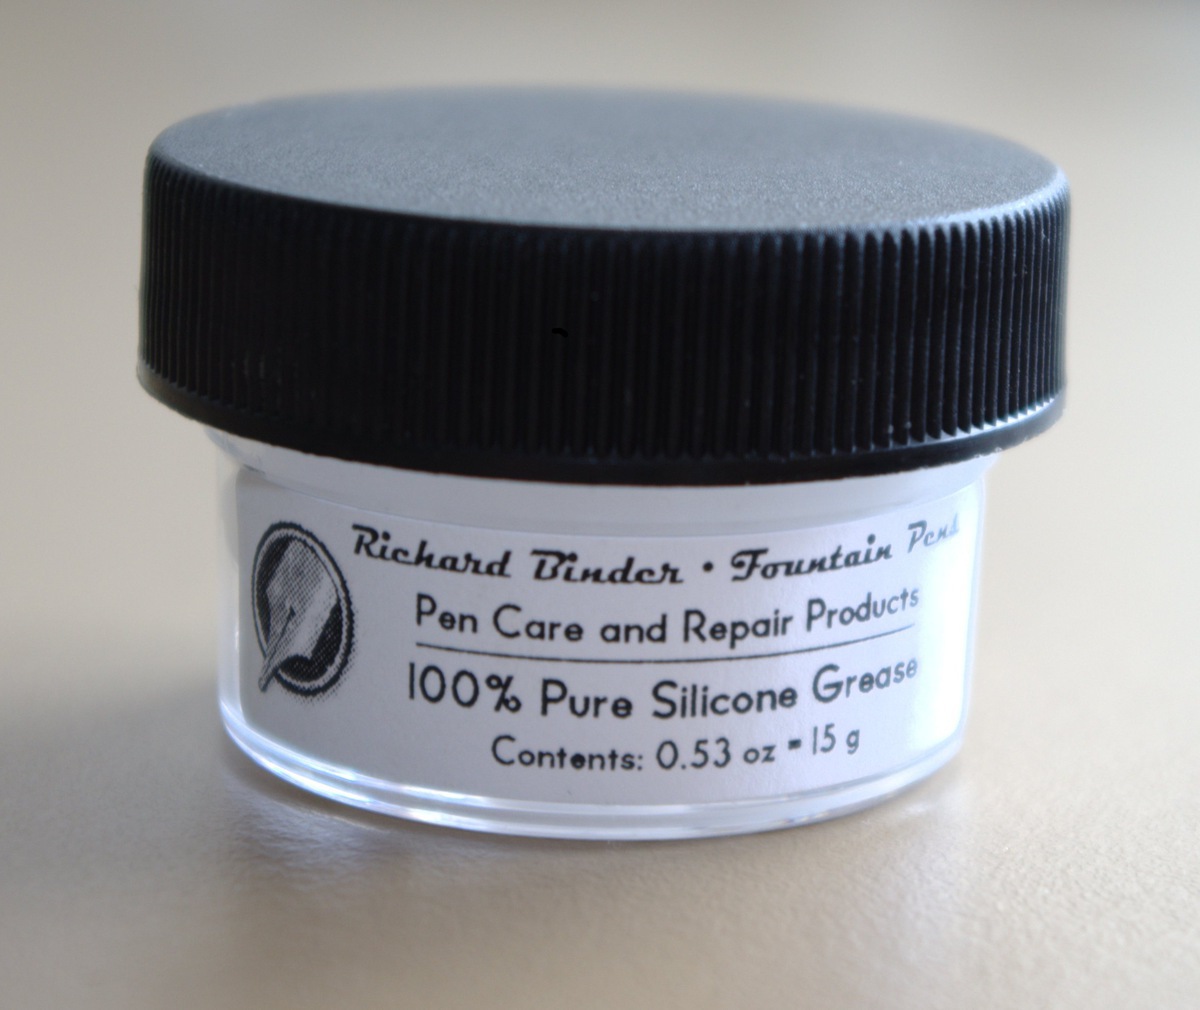
Sac cement - silicone grease
It is not mandatory but highly useful. Be sure to buy 100% silicone grease to avoid any problems.
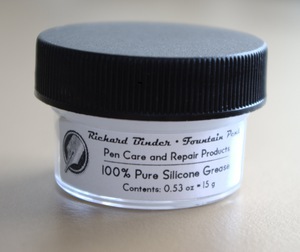
silicone grease
It is possible to buy all the ingredients online, moreover it is also possible to buy Snorkel repair-kits.
Warning
Before you start to repair your fountain pen:
- I've repaired my fountain pen but it does not mean that I'm an expert by any means. I hope this page helps you if you want to repair your pen but it is your responsibility.
- Trying to repair a cheap pen is a great idea. If you have a very expensive pen then find an expert.
Disassembly
Disassembling the body
First we need to disassemble the pen to find the sac. It is rather simple in theory we just unscrew a few things and clean all the parts.
First we turn the blind cap and extend the Snorkel (which gives the name of the pen). After that we unscrew the barrel. There is a spring inside the barrel we also need to remove that. We can also unscrew the section.
Can't unscrew?
It is also possible that we just cannot disassemble the pen, for instance we cannot unscrew the barrel. The pen is rather old it can be dirty, old dried ink can just make it stuck. Or the last person who fixed the pen was using glue to make the pen airtight.
We have a few ways to disassemble a stubborn pen:
- Force
The simplest (but not the best) way is to apply more and more force. Of course we need to be careful not to break the pen. There are special fountain pen section pliers but I don't have one.
- Soaking
If the pen is dirty and rusty soaking it might dissolve the old dirt and the dried ink. This was my favorite method, I was using room temperature water. This is a rather slow process but I had enough time.
- Heat
It sounds really dangerous but some of the repair books (e.g. Frank Dubiel's great Da Book) suggest using open flame. I'm not brave enough for this, I was not using open flame (at this step). A heat gun is much safer, but I don't have a heat gun.
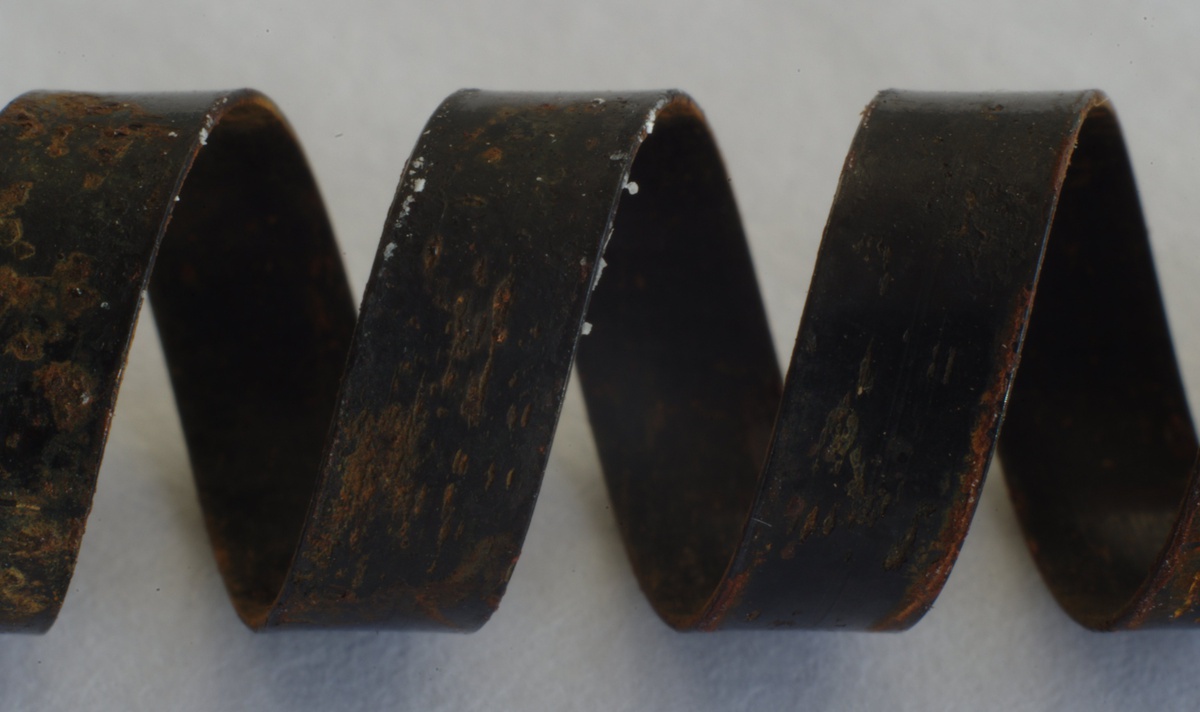
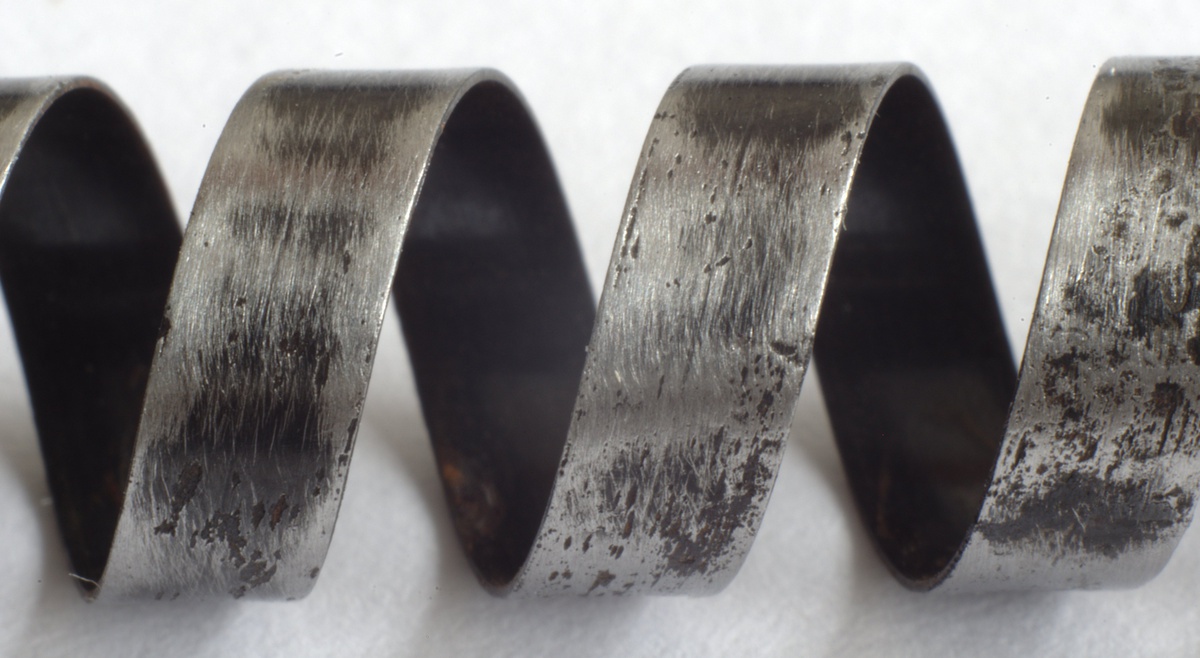
My pen had a very dirty and rusty spring, I had to clean it.
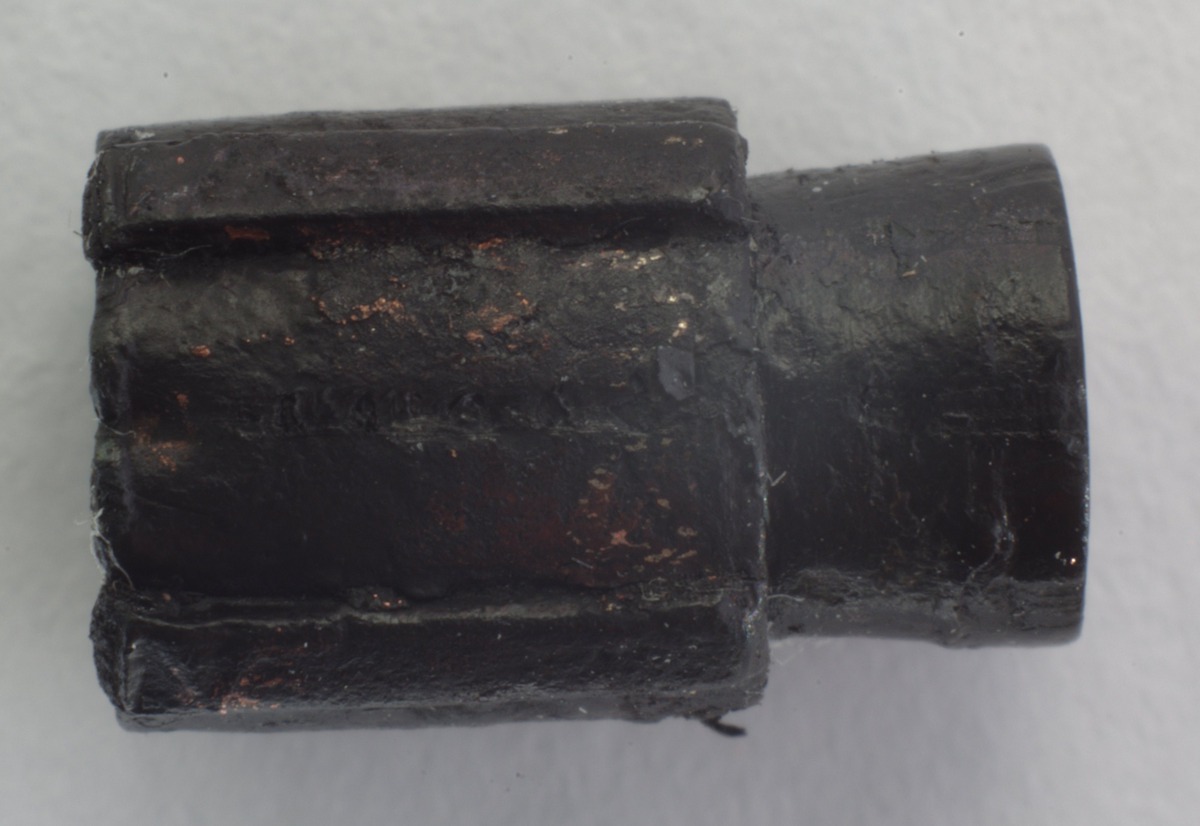
Sac protector
Even if we were able to unscrew everything, disassembling the sac protector (a metal tube protecting the sace) will be more difficult.

We need to remove the rubber sac guard without breaking the snorkel. We can ruin the old sac, we will replace it anyway.
There is a small hole at the end of the metal tube so we can use a small stick to push the sac guard (like shown here). This method might break the end of the snorkel so I was not really using this.
I heated the sac protector using open flame. The flame dissolved the old glue. The smell was terrible but all the important parts survived the flame.
It is always important to clean the parts, cleaning the sac protector and the snorkel is even more important. Using flame made it really difficult to clean the inside of the metal tube..
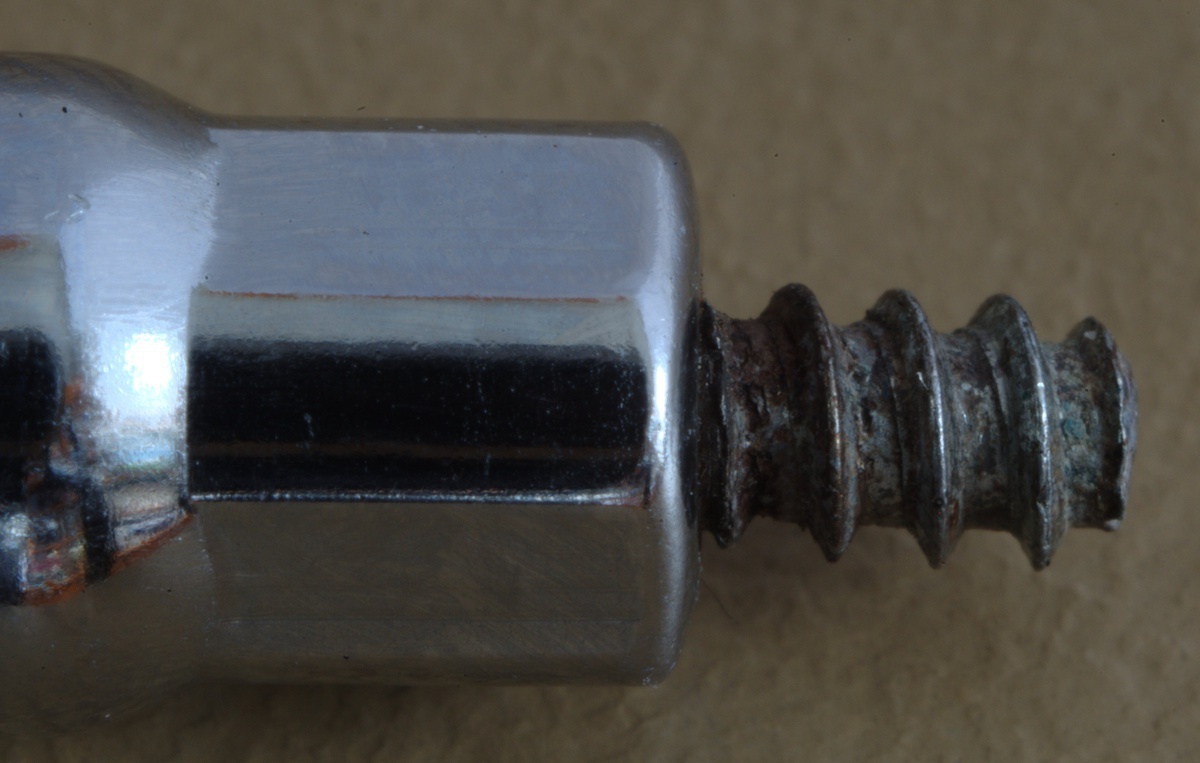
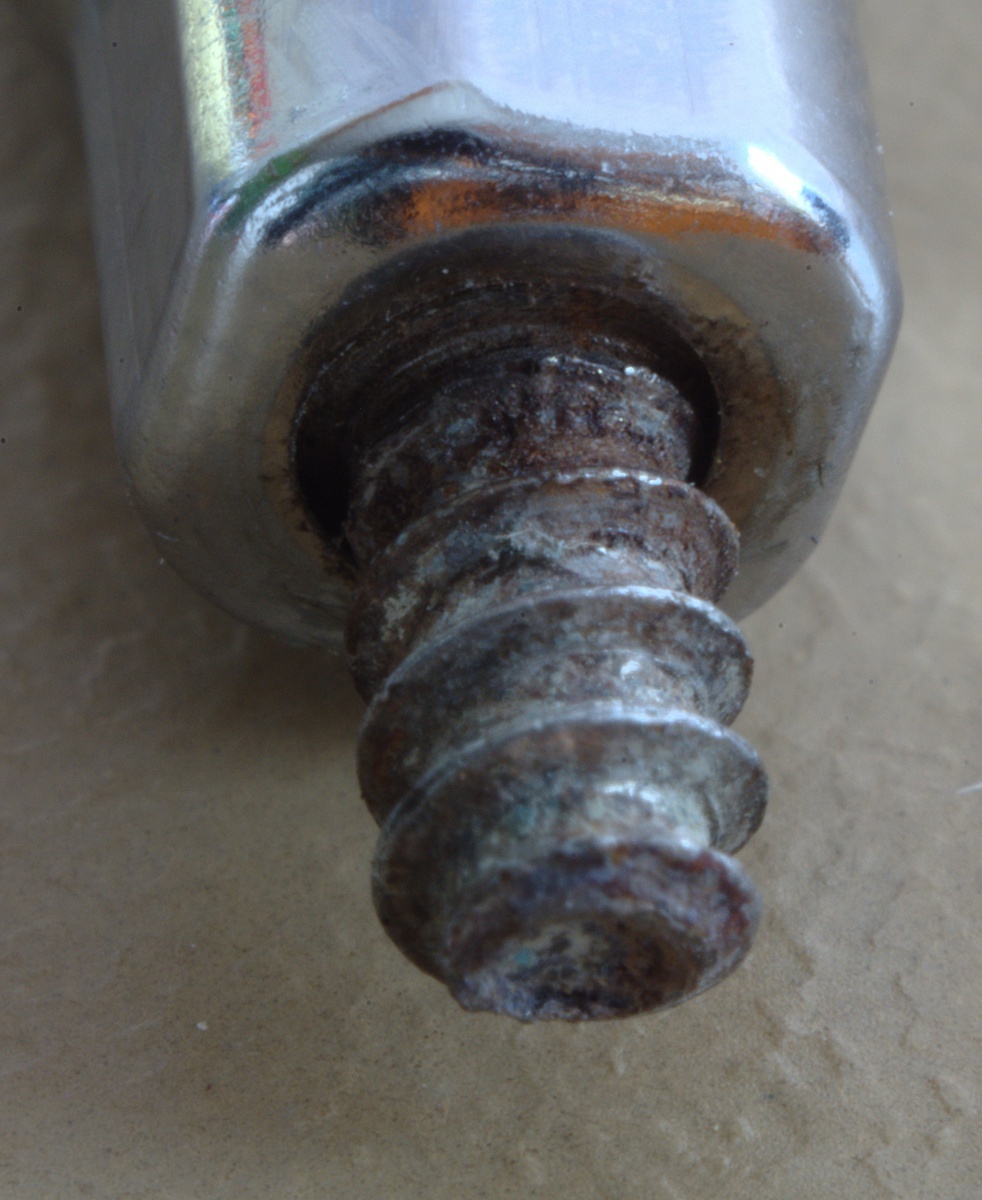
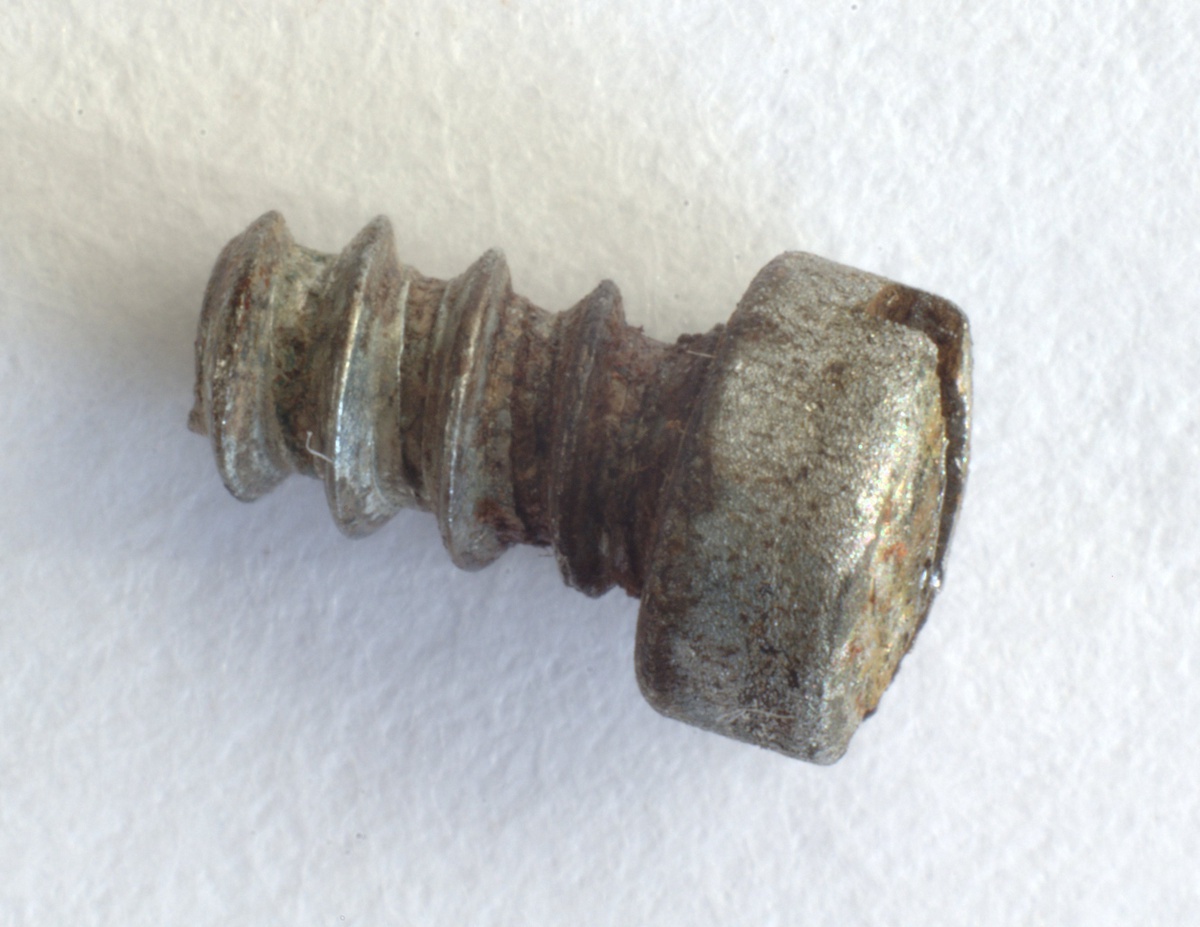
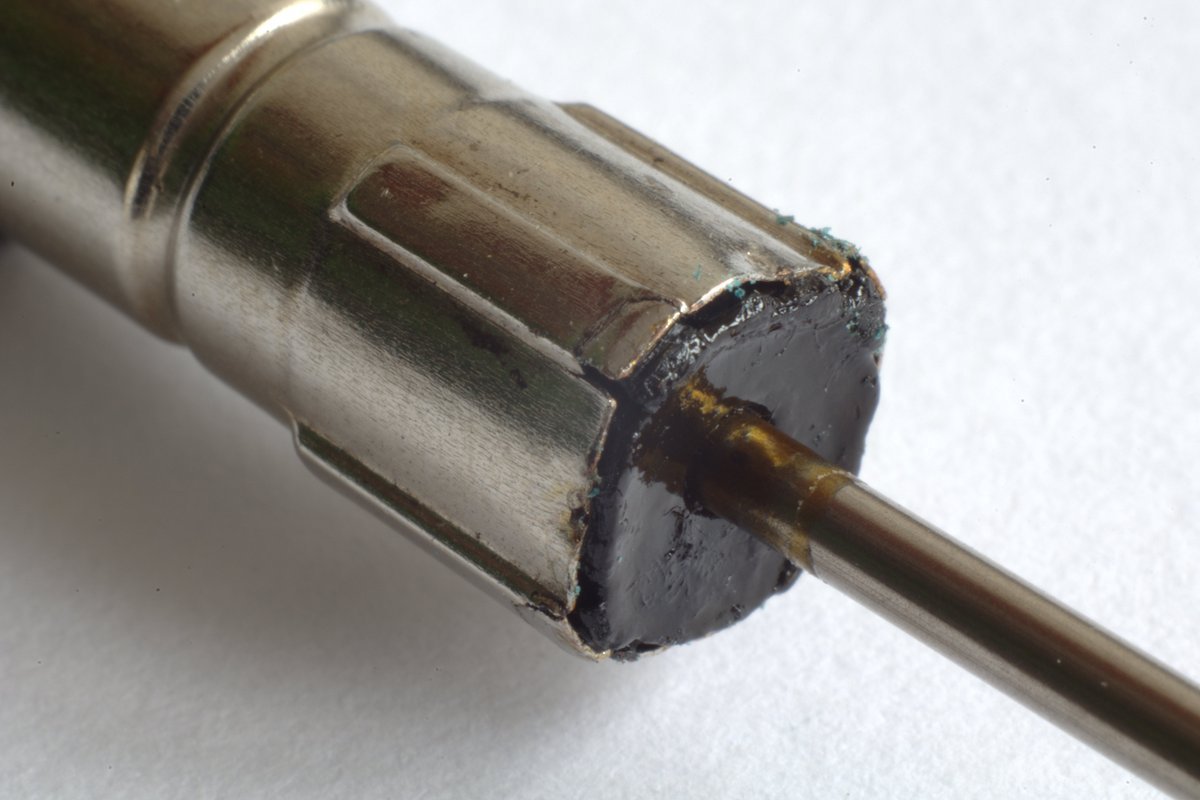
Blind cap screw
I had to use a long flat-head screwdriver to remove the blind cap screw. After that I removed the blind cap and the filler metal tube.
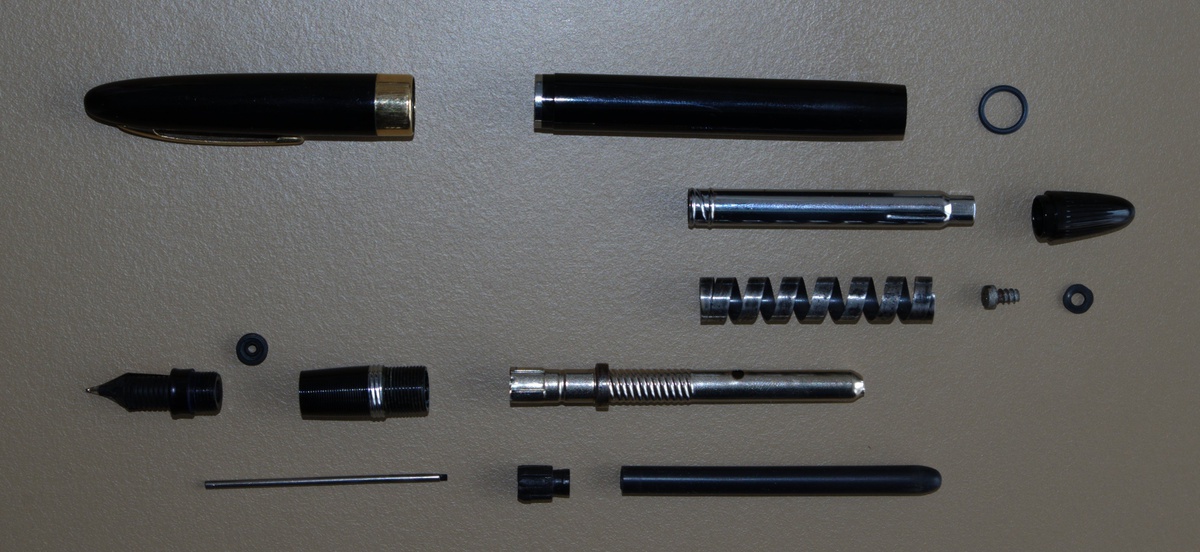
Sheaffer Snorkel parts
The next picture shows all the parts.
Replacing the ink sac
If we removed the snorkel from the sac guard, we have to put it back. The end of the metal part of the snorkel should be aligned with the sac guard.
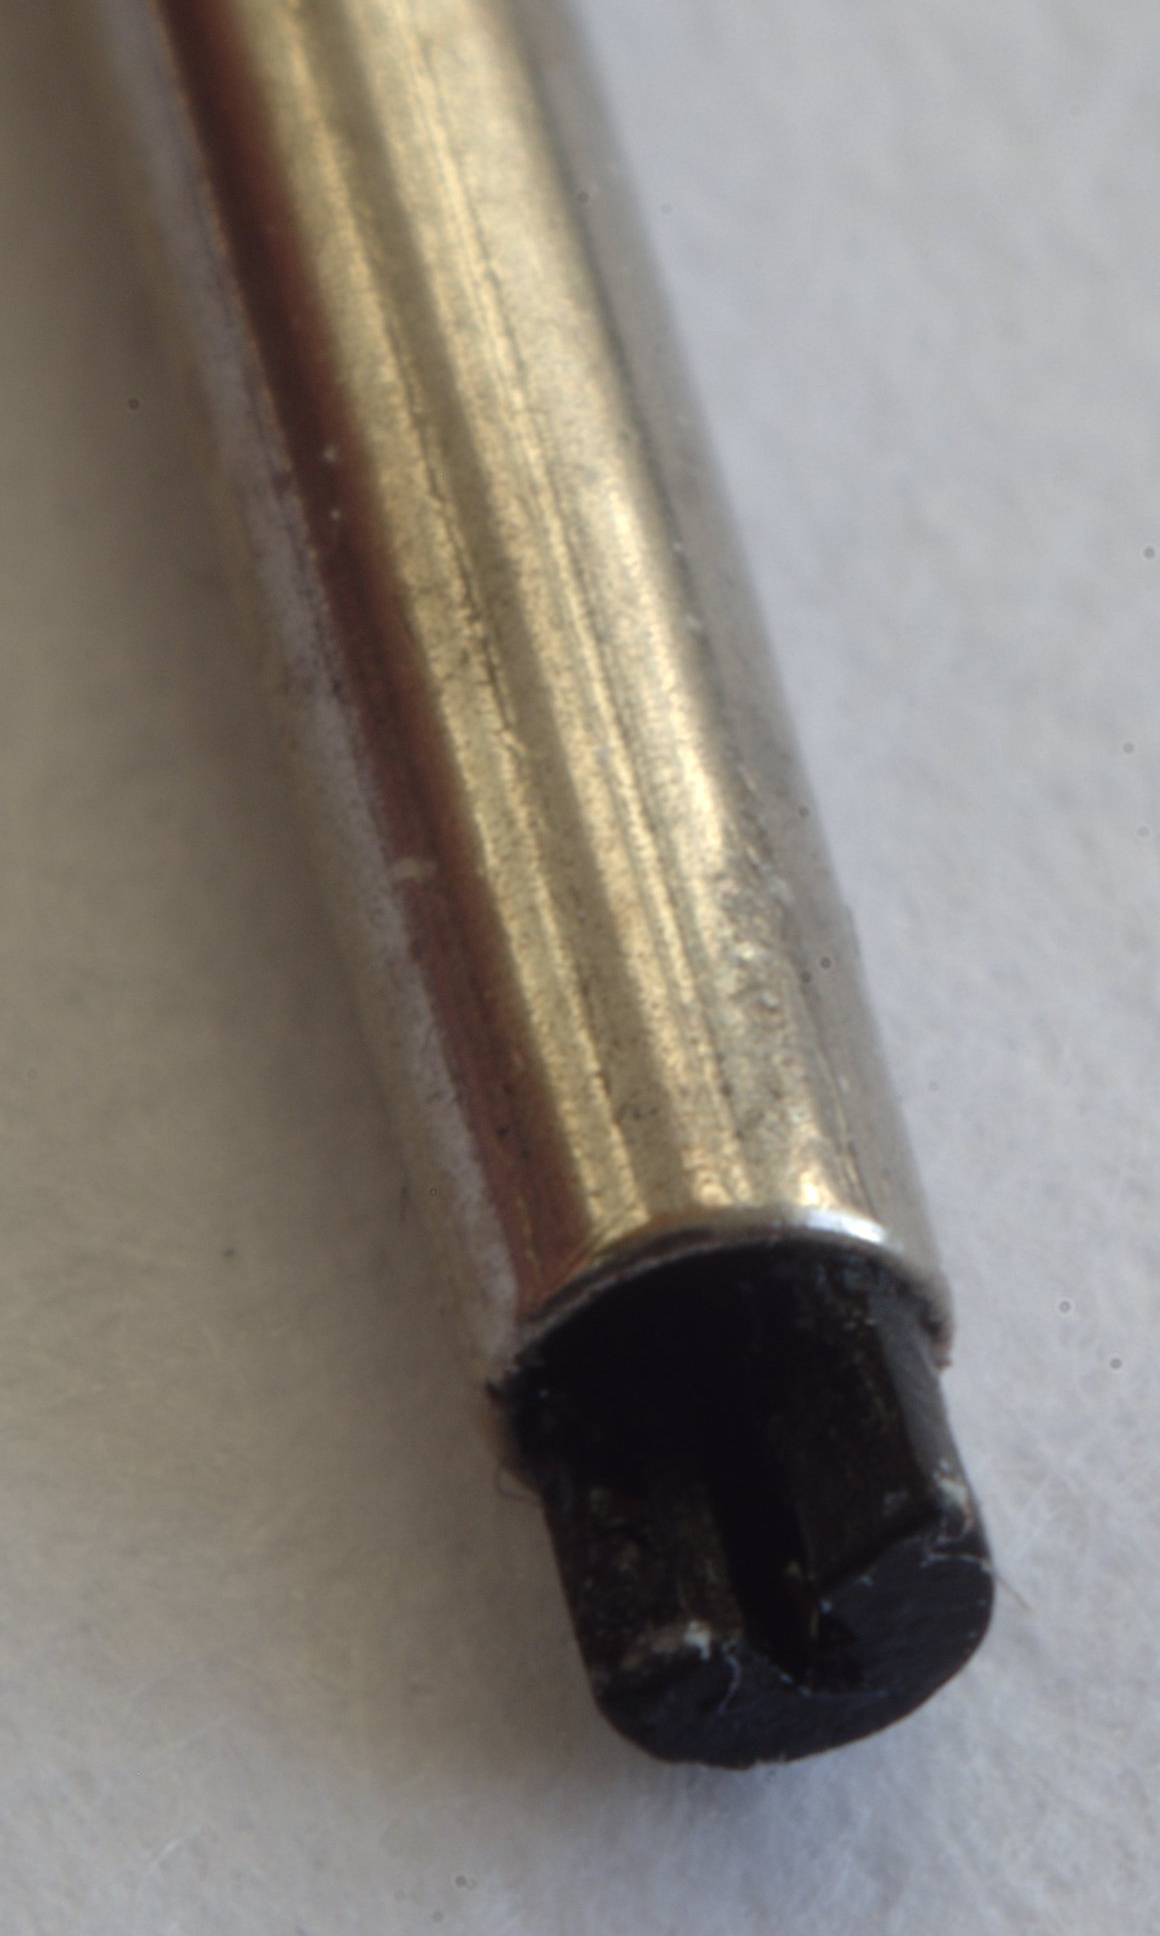
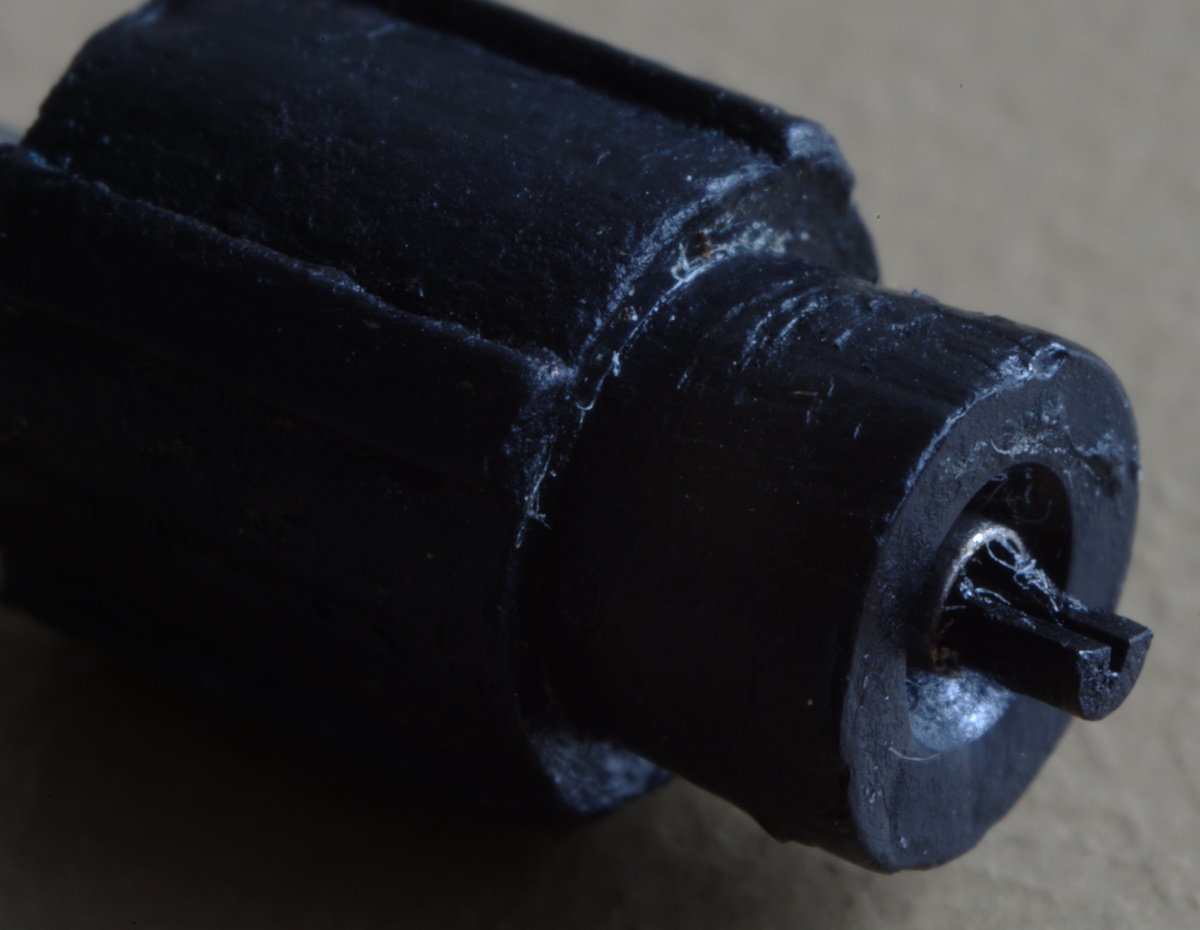
If we check the snorkel we can find a small slit at the end. We should position the snorkel to align it with the nib.

Ink sac
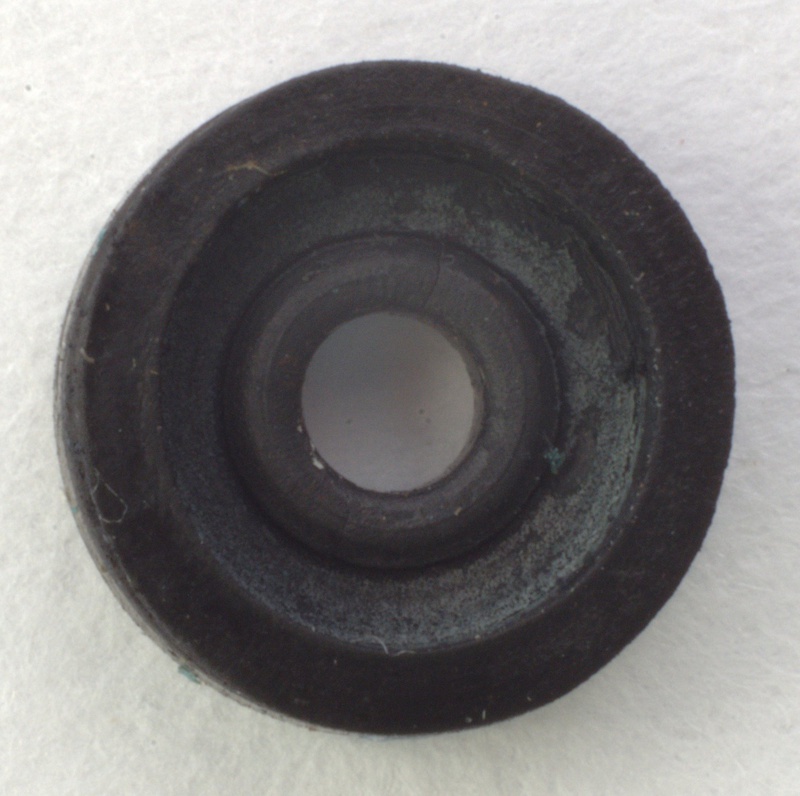
The ink sac is too long for the pen (it can be used for different pens) so I've shortened it using scissors. It's not a big deal if we make the ink sac a bit too short but we have to be sure that it's not too long.
First I've tested the ink sac without gluing it to the sac guard. The size was great so I glued it together. After that I've tested the air tightness. The next picture shows the ink sac after the gluing. It looks too small for the sac guard, but it's OK.


Sac protector
The next step is to put the rubber ink sac into the sac protector. I was using the same sac cement. Only the sac guard has to be glued to the sac protector we don't need (it is forbidden) to glue the sac to the sac protector. It is very useful to test the airtightness after this step (it was not airtight for me at first).
Assembly
The gaskets of my pen were in good shape (and I had no replacement gaskets) so I was not replacing them. I coated the gaskets using silicone grease.
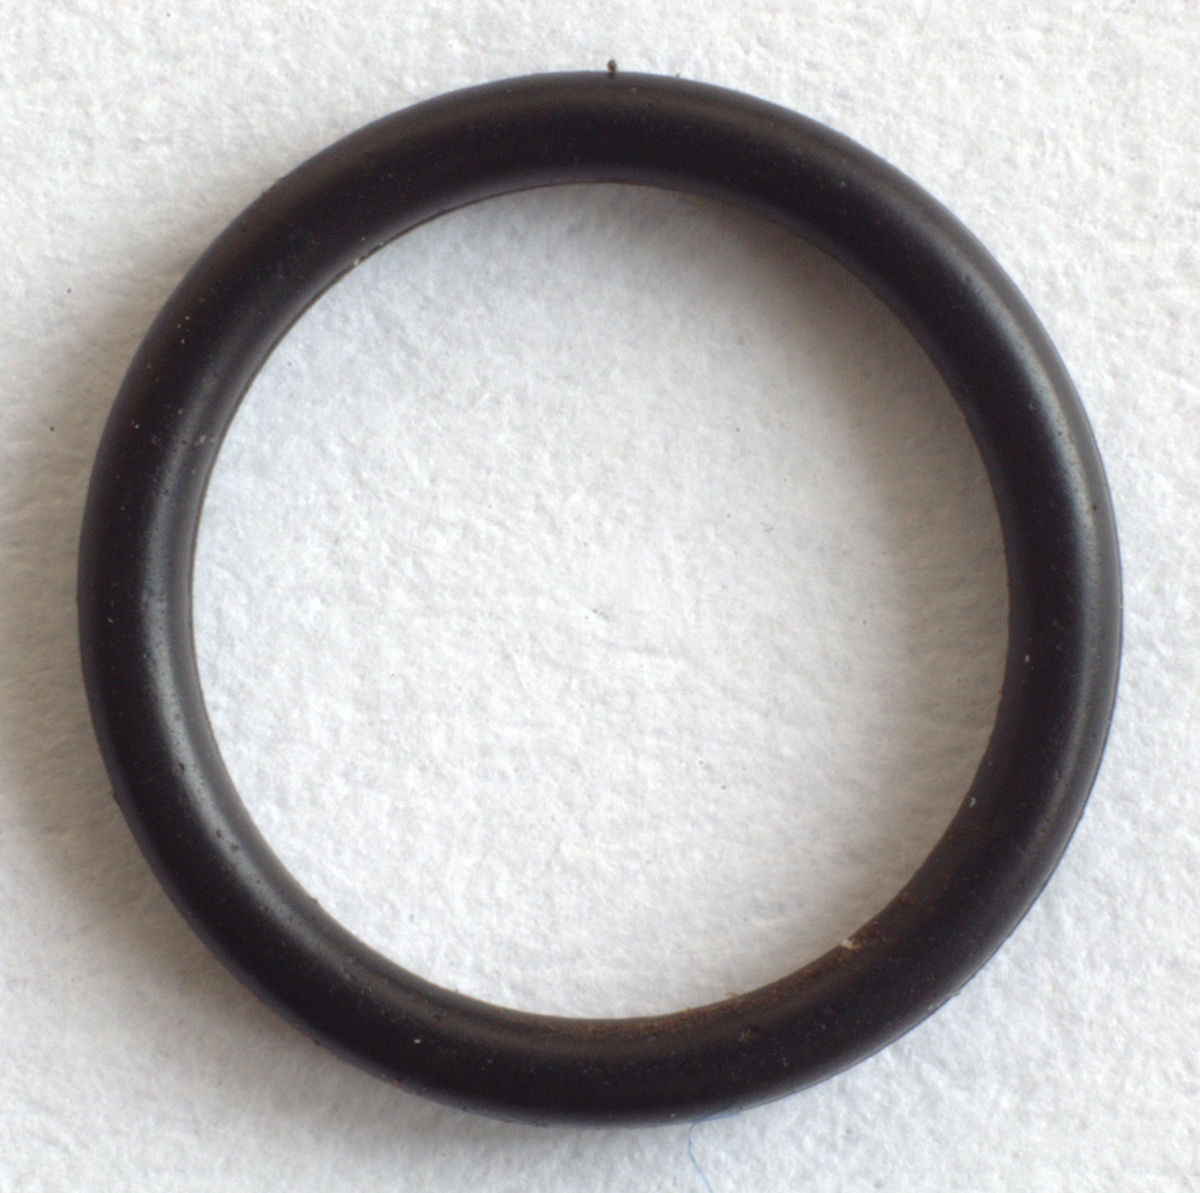
The old O-ring should also be replaced (specially if it's too brittle). This O-ring makes the pen airtight. If we move filler tube, we should feel the pressure building up till the end.
It is rather easy to remove the old O-ring (using a tweezer) replacing it with a new (silicone grease coated) O-ring was much more difficult (the O-ring is a bit larger than the inside of the barrel). After a while I was able to replace it.
I coated most of the parts of the pen using silicone grease I even used it for the main barrel. Using glue for the main barrel would make it more airtight but I might need to replace the sac later so I was using only silicone grease.
Testing
If we did everything correctly we can fill the penI've created the video before the repair.: